Planned DIY Projects
Here is a list of some projects I have planned. Check back every so often... I will add photos as I make them. :)
• Invitation suite
-Save The Date Postcard: √
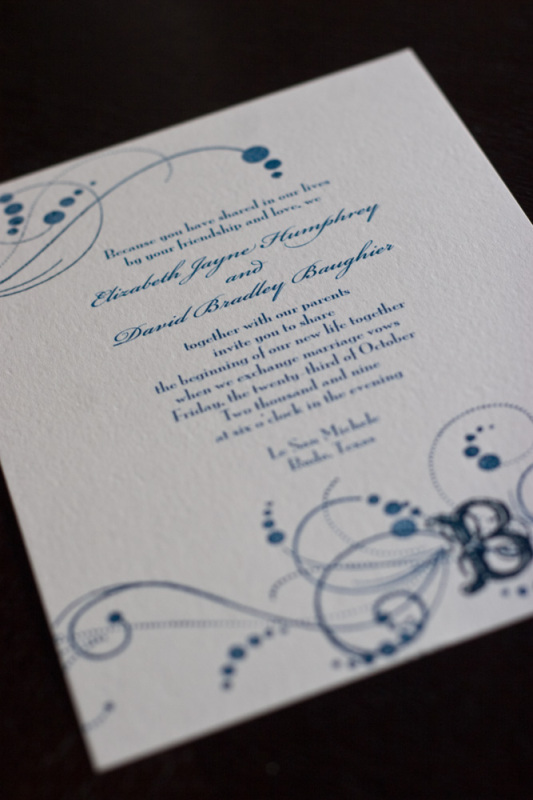
-Invitation: √
-Envelope w/ Liners: √
-Map/Directions Card: √
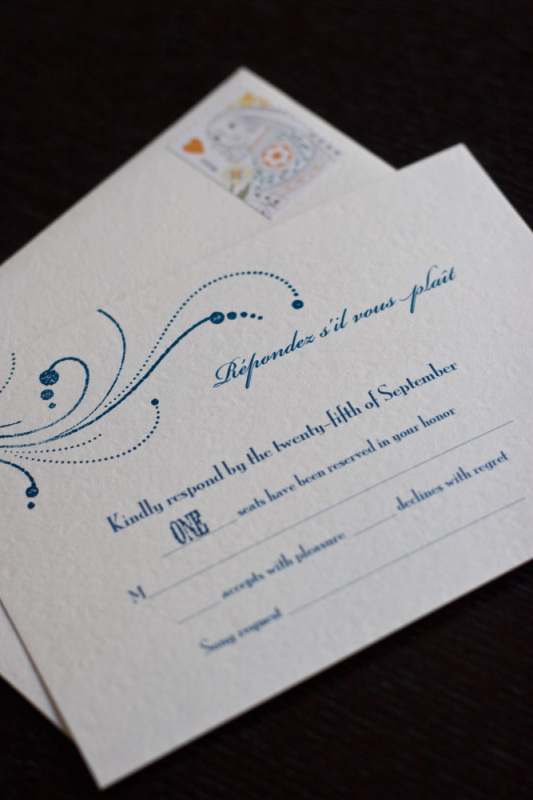
-Response Card & Envelope: √
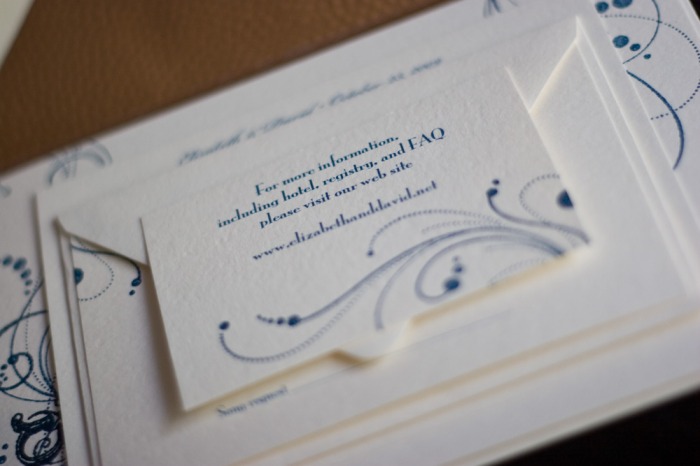
-Website Info Card: √
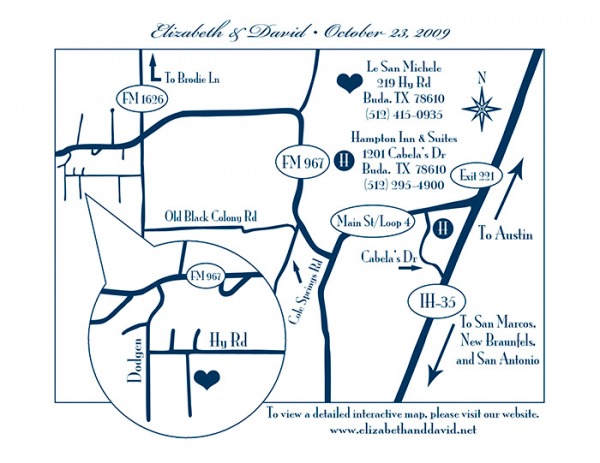
• Wedding Map: √
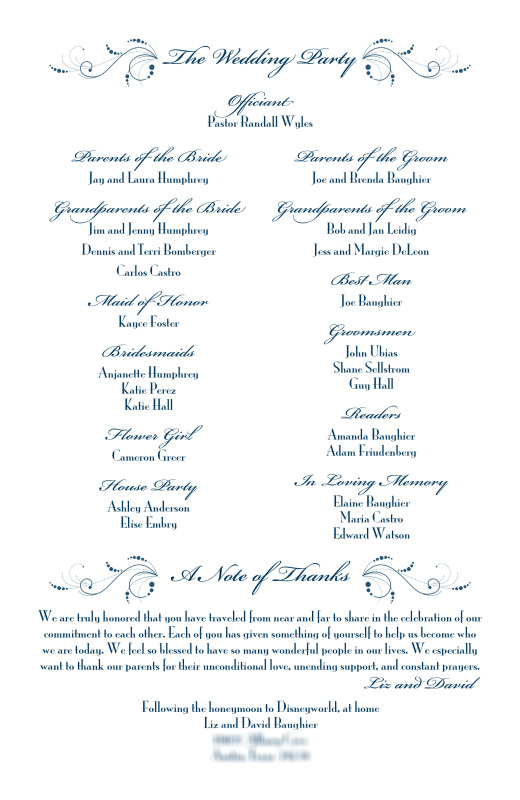
• Scroll Programs (Like this, but with this paper, and this ribbon.): Design - √, Print & Assemble -
• Placecards:
• Table numbers:
• Signs (buffet menu, bar menu, guest book instructions):
• Petal cones (though perhaps not anything that elaborate... just some nice paper will do):
• Flower girl basket: √
• Reception music playlist (though people were able to make requests on their response cards, so I had help!):
• Photobooth (hells yeah! sooo excited about this.): √
• Bridesmaid gifts (at least partial): √
• Wooden wedding signs:
• Bridal wrap/bolero:
Oh, and I'll be doing all my own photo editing and album design once the wedding is over as well... but that'll be cake compared to the rest of this!
I think with a little luck, a lot of planning, and definitely some help, all of this can be done! :)
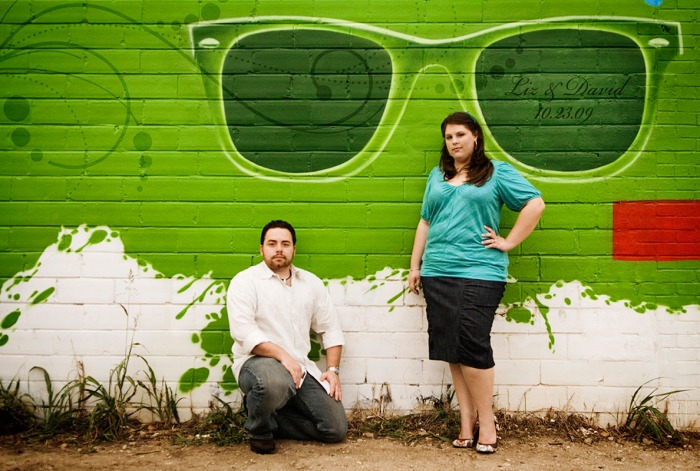
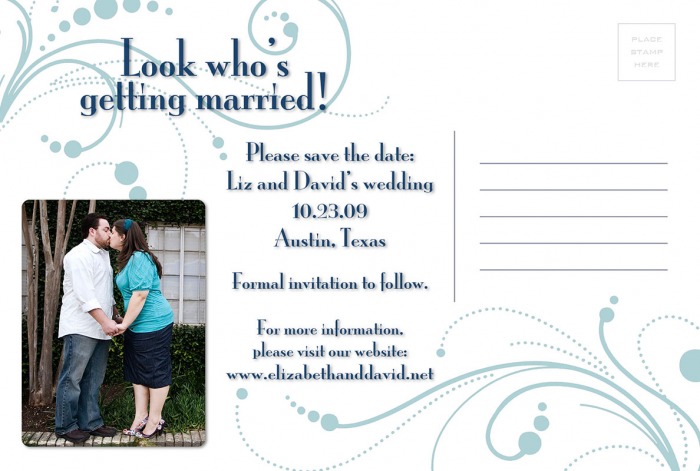
Save The Date postcard design!
I really like that the front image is fun and cool (plus we both look HOT), and the back image is cute and romantic. I wouldn't want to make people gag with too many smoochy pics. The flourishes are the rubber stamp design I'm using to make my invitations... I scanned them and made them into Photoshop brushes so I could tie the Save The Dates in with the invitations. I'm just OCD like that. :P
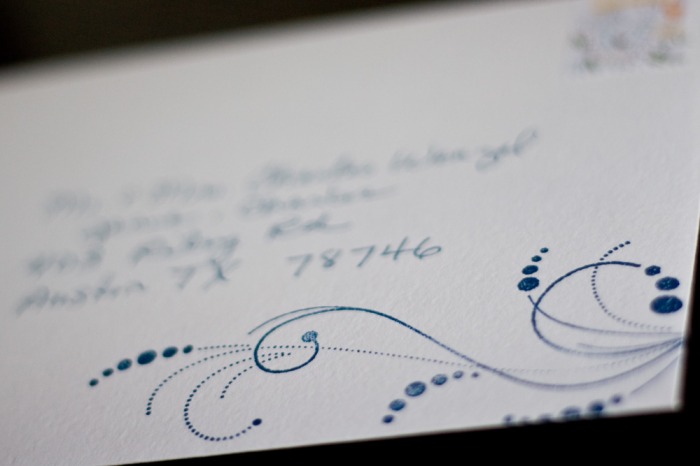
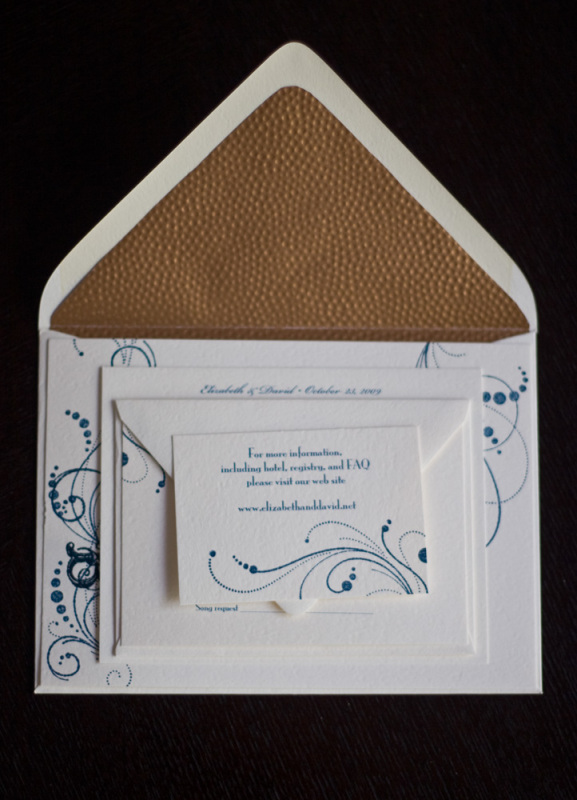
Invitations!!!
• All paper is from the Yours Truly line at Archiver's... I used "Luxe Cream".
• The ink color is "Not Quite Navy" from Stampin' Up! (My grandma is a Stampin' Up! distributor.)
• I looked all over for the right stamps... but the ones I used were purchased from JoAnn's.
• The envelope liner is copper wrapping paper from The Container Store. (Wrapping paper is better for lining envelopes than scrapbook paper for 2 reasons: 1) it's cheaper, and 2) it's thinner and easier to fold... it's also not as heavy!)
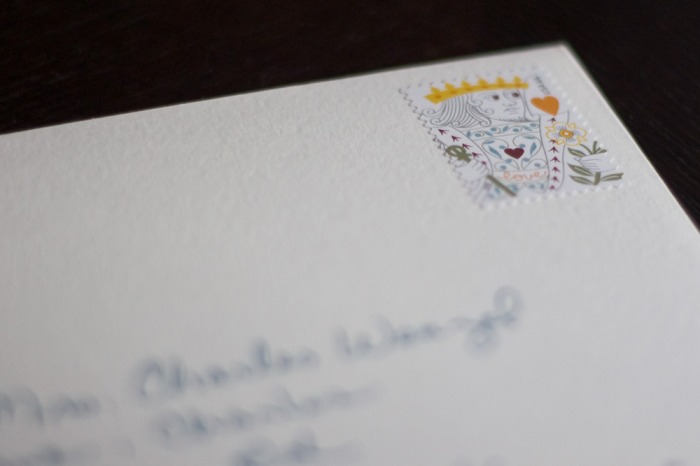
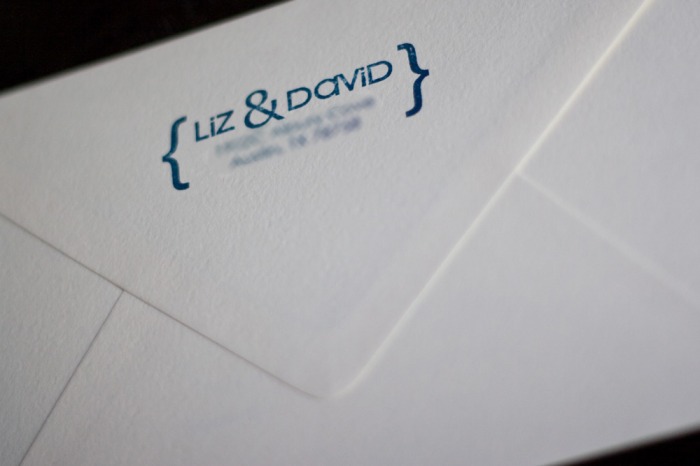
• The custom return address stamp is from Sweet Papery. (Picture shows the address blurred.)
• The map was a DIY project. (See below.) Driving directions are printed on the back side.
• I love the King & Queen of Hearts postage stamps (this year's LOVE stamp)... so glad I didn't have to resort to the wedding rings stamp. :P I used the King to mail the whole thing (weighed EXACTLY 1oz!), and used the Queen on the response card envelope.
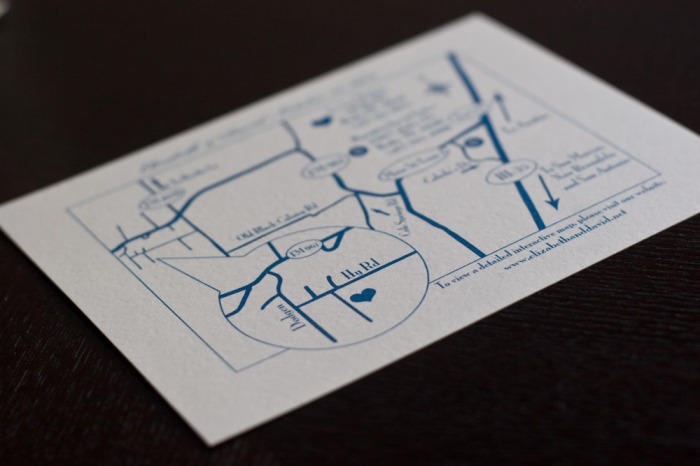

Wedding Map
Ceremony Program

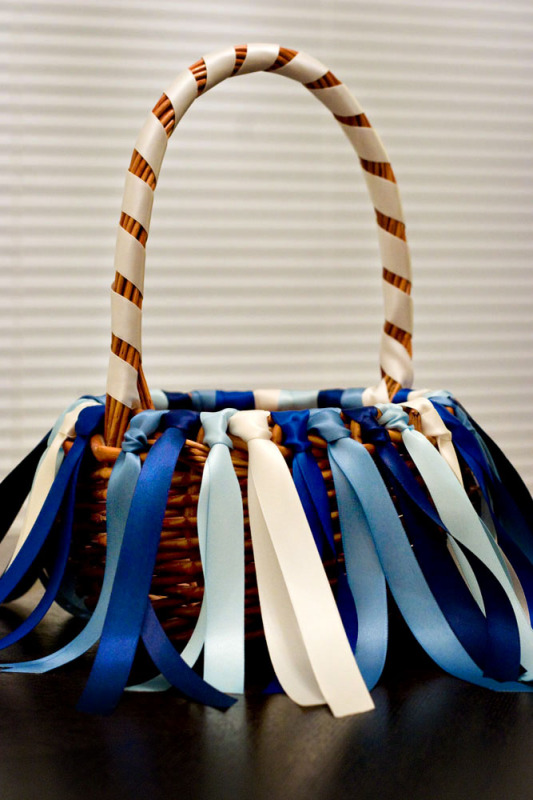
Flower Girl Basket
It still wasn't exactly what I wanted, but it was the best option, and I think it looks really good with all the ribbon tied to it! I've never seen anything like it. :)
I think I will still have my florist add some flowers in, but I really like the ribbons! Cameron will be excited to carry this down the aisle!